Learn to sew
A calm, capable way to begin sewing.
You do not need a perfect machine, a room full of tools or years of experience. Begin with four practical skills and one small project that makes you want to sit down and sew again.
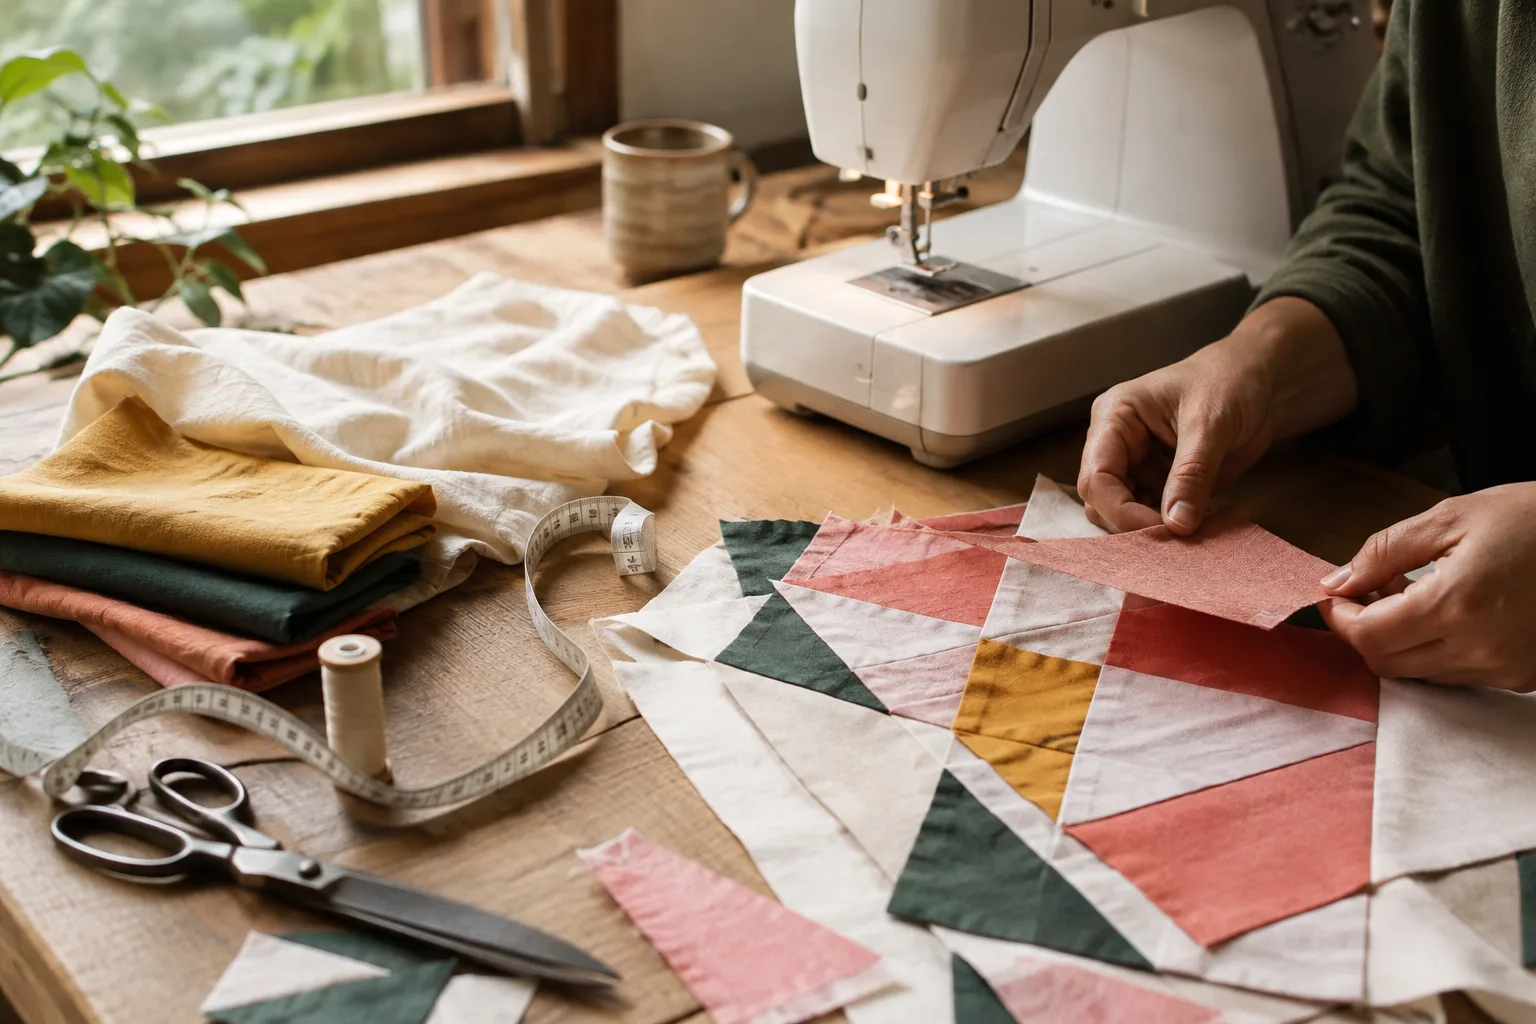
Start with control
Learn to thread your machine, wind a bobbin and guide fabric without pulling it. Sew on a doubled cotton scrap until your starts, stops and corners feel predictable.
- Test straight stitch at 2.5 mm
- Practise a 10 mm seam allowance
- Press the seam before judging it
Choose forgiving cloth
A stable woven cotton is the kindest first fabric. It stays where you place it, takes a crease well and lets you see every stitch clearly. Save slippery, stretchy and very bulky cloth for later.
Make one useful thing
A lined tote, envelope cushion or simple zip pouch teaches measuring, cutting, seams and finishing without demanding a perfect fit. Useful projects turn practice into momentum.
Turn information into a small experiment
The quickest way to understand start here is to make a low-risk sample. Use the intended fabric and thread, label the first settings or measurements, then change only one detail at a time. A row of honest tests teaches more than trying to remember which combination produced the cleanest result.
Keep the successful sample with a short note. Over time those scraps become a personal reference library matched to your hands, equipment and preferred materials.
Plan the sequence before starting
Read every instruction once, identify decisions that cannot be undone and prepare pressing or finishing tools before they are needed. Group the work into short stages: prepare, sample, construct, check and finish. This makes it easier to stop at a safe point and return without losing orientation.
Measure the work at the end of each stage. Small corrections stay small when they are found early.
Finish with care and make a record
Remove temporary marks, trim only after checking the seam and press the completed work using settings already tested on an offcut. Photograph useful construction details before they disappear inside a lining or binding.
Write down final dimensions, material amounts and anything you would change next time. A finished project then becomes both something useful and a dependable starting point for the next version.
At the worktable
A practical checklist
Use this as a pause point before you cut, stitch or commit the final materials.
- 01Define the finished purpose and size
- 02Gather compatible materials
- 03Make one labelled sample
- 04Work in checkable stages
- 05Press at each construction step
- 06Record improvements for next time
Common questions
Before you begin.
What should I check before working with start here?
Confirm the project’s finished purpose, washing needs and required dimensions first. Then test the exact combination of fabric, needle, thread, tool and pressing method on an offcut. The sample should reproduce the thickest or most delicate part of the final construction.
Is this subject suitable for a beginner?
Yes, when it is reduced to one new skill at a time. Choose stable materials, avoid an urgent deadline and make a small practice version before investing in a larger project. Beginners benefit from clear checkpoints more than from buying additional equipment.
How can I avoid wasting fabric?
Pre-wash and square only as the project requires, create a cutting diagram, and verify one repeated unit before batch cutting. Save generous offcuts for tension tests, seam samples and future repairs rather than cutting every remnant into tiny scraps immediately.
What should I do if my sample does not work?
Return to a known normal setup, then change one variable. Check threading, needle condition, grain direction, seam allowance and pressing temperature before altering the design. Write each change on the sample so the useful result can be repeated.