Quilting basics
Patchwork that meets neatly and lasts beautifully.
Successful quilting comes from a short chain of repeatable habits: accurate cutting, a consistent seam, thoughtful pressing and patient assembly.
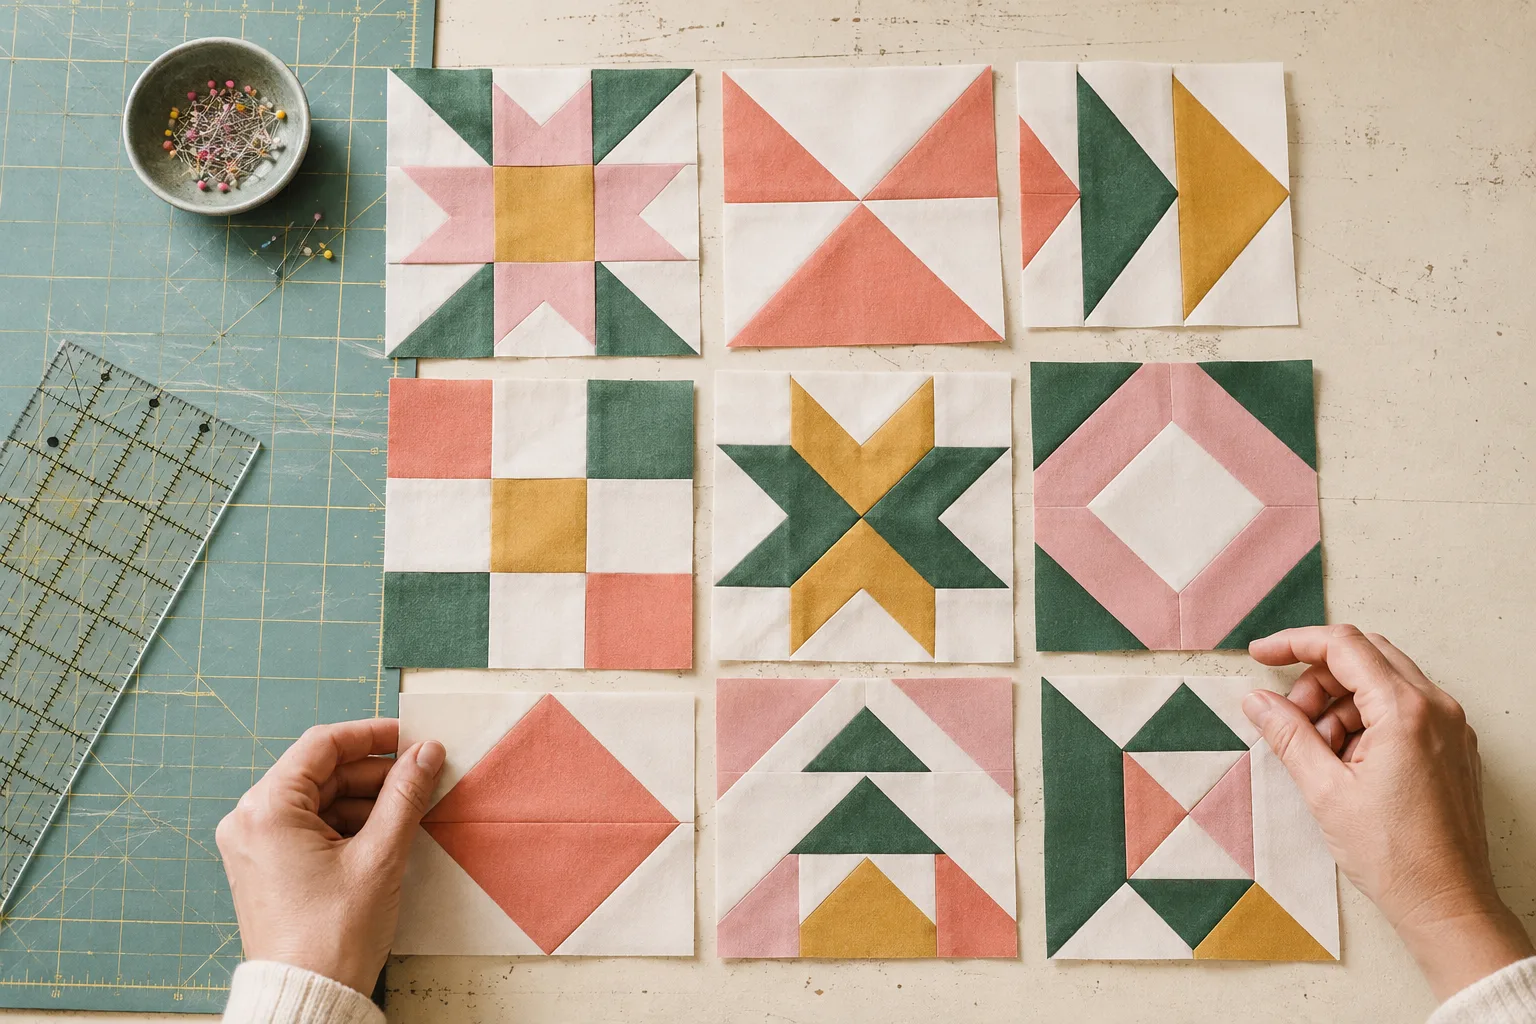
Accuracy begins at the cut
Square the fabric edge, align the ruler with the fold and make each rotary cut away from your body. A fresh blade and relaxed pressure are safer and more accurate than forcing a dull one.
Protect the quarter-inch seam
Make a small test unit and measure it after pressing. The ideal setting is the one that produces the correct finished size on your machine, even if the fabric edge sits a fraction away from the foot.
Assemble in stages
Complete small units, then rows, then larger sections. Press each stage and label pieces when orientation matters. This catches tiny errors before they travel across the whole quilt.
- Measure the unit, not the seam alone
- Press to set stitches before opening
- Keep bias edges supported
Choose batting and backing as part of the design
The middle and reverse of a quilt change its warmth, weight, drape and washing behaviour. Cotton batting gives a familiar, softly crinkled finish; blends can add loft and resilience. Read the recommended maximum quilting distance before deciding on a quilting plan, because widely spaced stitching may not support every product.
Choose backing that is stable, washable and large enough to extend beyond the quilt top on every side. A pieced backing can be economical and expressive, but press its seams well and keep bulky joins away from the centre where possible.
Make a pressing plan
Pressing affects both accuracy and assembly. Set the seam with a brief press before opening or directing it, and lift the iron rather than pushing small units out of square. Press seams to one side when nesting will help intersections meet, or open when reducing bulk matters more.
Whatever method you choose, stay consistent within a construction stage. Lay completed units beside one another before joining rows so orientation and seam direction can be checked at a glance.
Finish for the life the quilt will have
A frequently washed family quilt needs secure quilting, durable binding and a care plan suited to every material in the sandwich. Join binding strips diagonally to spread bulk, test the fold around a corner and use a slightly shorter stitch length where the binding will receive wear.
After finishing, wash only when every fabric and thread has been tested for colourfastness. Air the quilt fully before storage and fold it along different lines from time to time to avoid permanent creases.
At the worktable
A practical checklist
Use this as a pause point before you cut, stitch or commit the final materials.
- 01Square fabric before cutting strips
- 02Verify the finished size of one test unit
- 03Keep bias edges supported
- 04Press instead of stretching
- 05Check batting quilting distance
- 06Measure borders through the quilt centre
Common questions
Before you begin.
What should I check before working with quilting basics?
Confirm the project’s finished purpose, washing needs and required dimensions first. Then test the exact combination of fabric, needle, thread, tool and pressing method on an offcut. The sample should reproduce the thickest or most delicate part of the final construction.
Is this subject suitable for a beginner?
Yes, when it is reduced to one new skill at a time. Choose stable materials, avoid an urgent deadline and make a small practice version before investing in a larger project. Beginners benefit from clear checkpoints more than from buying additional equipment.
How can I avoid wasting fabric?
Pre-wash and square only as the project requires, create a cutting diagram, and verify one repeated unit before batch cutting. Save generous offcuts for tension tests, seam samples and future repairs rather than cutting every remnant into tiny scraps immediately.
What should I do if my sample does not work?
Return to a known normal setup, then change one variable. Check threading, needle condition, grain direction, seam allowance and pressing temperature before altering the design. Write each change on the sample so the useful result can be repeated.